How to create and print a customized report format


Introduction

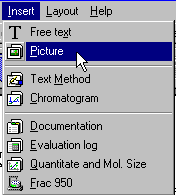
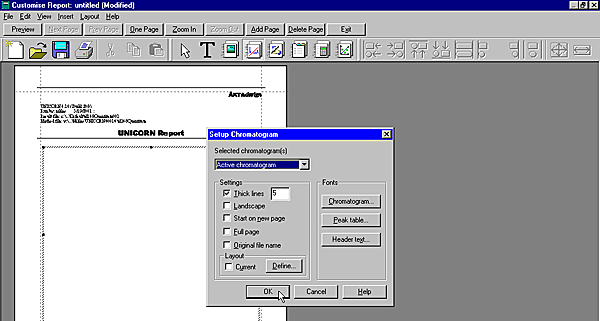
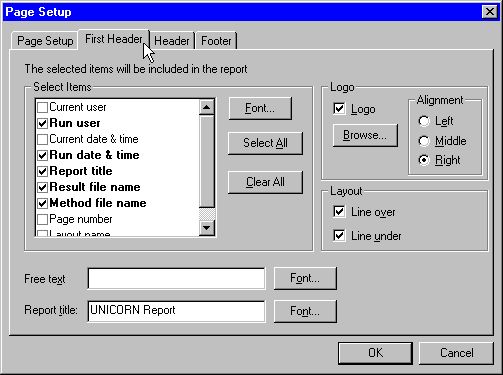
You can select a number of different objects (including chromatograms, methods, images, free text etc.) and create a customized report format. The objects can be aligned, re-sized and positioned to fit your specific layout. This section describes only some of the formatting options.


How to create a new report format

The table below describes how to create a new customized report format.

Step

Action

1

  • Choose File:Report.

or

  • Click the Report icon.

Result: The Generate Report dialog box opens.

2

Click the New button.

Result: The Create New Report Format dialog box opens.

3

Choose Customised Format and click OK.

Result: The Customise Report window opens.

4

Proceed to "How to add items to the empty report".


How to add items to the report

The table below describes how to add items to your empty report format.

Step

Action

1

Select an information item.

  • Click one of the item icons in the toolbar.

or

  • Select an item from the Insert menu.

2

Press and hold down the left mouse button, and drag out a box to the size of the item you want to insert.

Note: The mouse pointer shows a symbol for the type of item you have selected.

3

Release the mouse button.

Result: A Setup dialog box opens. The dialog box is specific to the type of item that you want to insert.

4

Select the options you want.

5

Click OK.

6

Repeat steps 1 to 5 for each new item you want to insert.

7

Click Preview to view the final results.


The Setup Chromatogram dialog box

The illustration below shows the Setup Chromatogram dialog box in the Customise Report window.


How to set up the page format

The table below describes how to set up the page formatting.

Step

Action

1

Double-click anywhere in the Customise Report window.

Result: The Page Setup dialog box opens.

2

Click the Page Setup tab and enter values for all Margins.

3

Click the First Header tab and select the items that you want to include in the first page header.

4

Click the Footer tab and select the items that you want to include in the footer.

5

Click the Header tab and select the items that you want to include in the header.

Note: This tab is not available if you selected Same header on all pages in the Page Setup tab.


The Page Setup dialog box

The illustration below shows the First Header tab in the Page Setup dialog box.


2005-06-15