|
1
|
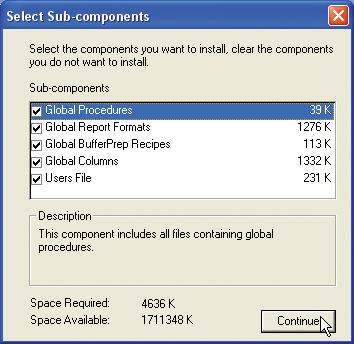
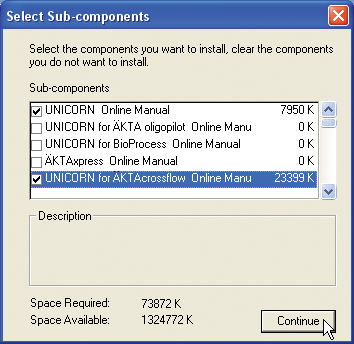
Result: The Select Sub-components dialog box
is displayed.
|
|
2
|
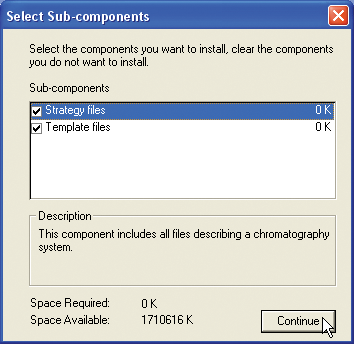
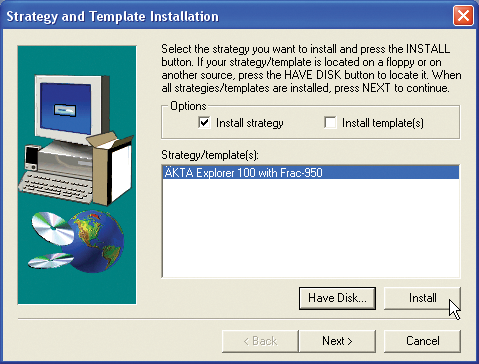
Select the Strategy files check
box if you want
Select the Template files check
box if you want
|
Note:
|
Normally both strategy and template installation is selected.
|
|
|
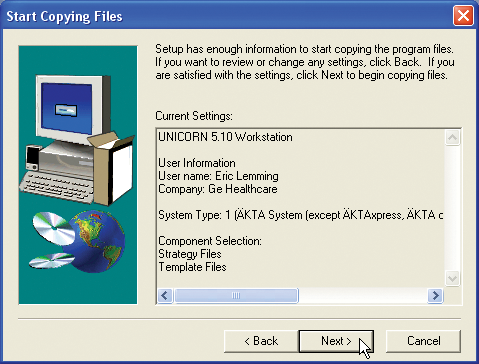
3
|
The Start Copying Files dialog box opens
with the selected components listed.
|
|
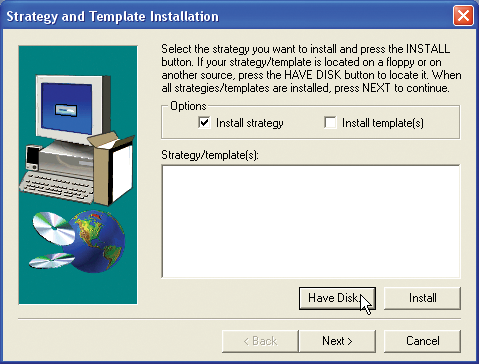
4
|
The Strategy and Template Installation dialog
box is displayed.
|
|
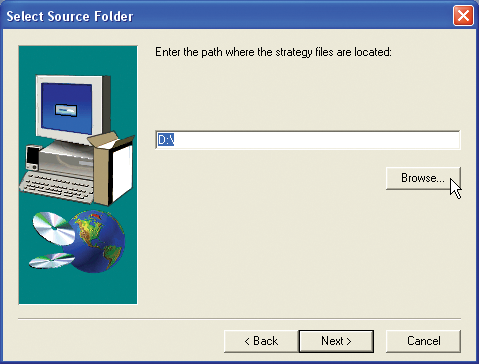
5
|
|
Note:
|
If the options for both strategy and template are checked,
the template files are automatically installed together with the strategy.
|
Result: The Select Source Folder dialog box
opens.
|
|
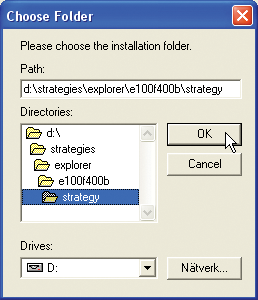
6
|
Result: The Choose Folder dialog box opens.
|
|
7
|
Result: The dialog
box closes and the selected strategy or template is added to the Strategy and Template Installation dialog box.
|
|
8
|
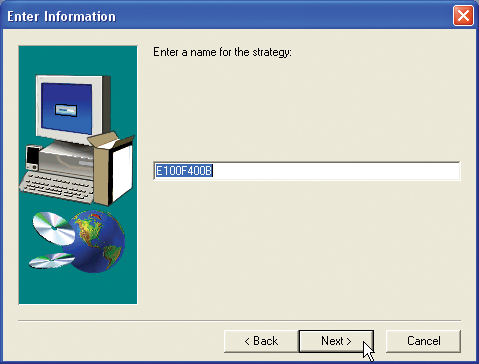
Result: The Enter Information dialog box is
displayed.
|
|
9
|
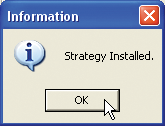
Result: The strategy
or template is installed and an Information dialog
box is displayed as a confirmation.
|
|
10
|
Result: The Strategy and Template Installation dialog
box is displayed again.
|
|
11
|
Result: Changes
are made to the Windows Registry and the Setup Complete dialog
box is displayed.
|